Using Windows Subsystem for Linux (WSL) in Windows Terminal

In this video, I will show how to customize the bash prompt of Windows Subsystem for Linux and how to add the bash program to Windows Terminal. I assume that you have already installed Windows Subsystem for Linux on your PC. I will use Ubuntu 20.04 version for this demo. You can also check out a demo video on YouTube.
First of all, find .bashrc file under your home directory. In my case, the file is located at Ubuntu 20.04/home/seong/ directory. That file stores many predefined configurations for your bash environments. The file .bashrc runs whenever you start the bash program.
Secondly, I will make a backup file of this original .bashrc file at the same directory with a new name, .bashrc-backup. This will give you a chance to recover from any error. We will leave the original backup file for later recovery just in case.
Thirdly, we will edit the file, ~/.bashrc under your home directory. Copy this chunk of code after the line, if [ "$color_prompt" = yes ]; In my case, it appears at the line 59.

git_branch() {
git branch 2> /dev/null | sed -e '/^[^*]/d' -e 's/* \(.*\)/(\1)/'
}
if [ "$color_prompt" = yes ]; then
# PS1='${debian_chroot:+($debian_chroot)}\[\033[01;32m\]\u@\h\[\033[00m\]:\[\033[01;34m\]\w \[\033[36m\]$(git_branch)\[\033[00m\]\n\$ '
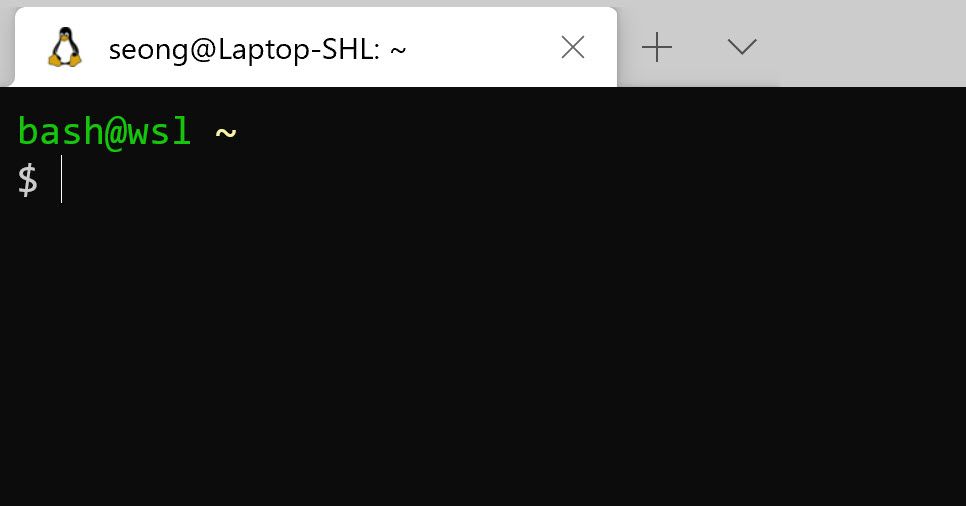
PS1='${debian_chroot:+($debian_chroot)}\[\033[01;32m\]bash@wsl \[\033[33m\]\w \[\033[36m\]$(git_branch)\[\033[00m\]\n\$ '
else
PS1='${debian_chroot:+($debian_chroot)}\u@\h:\w\$ '
fi
This code will change the format and color of the prompt line. For the details of customizing options for colors and attributes, you can refer to this site, https://ss64.com/bash/syntax-prompt.html.
After finishing the new prompt setup, restart your Ubuntu Bash and find if the changes are properly updated.
Finally, let’s add your Ubuntu Bash to Windows Terminal. Windows Terminal allows you open multiple consoles (Command Prompt, PowerShell, WSL, Git-Bash, etc) simultaneously on different tabs and panes. It also allows you to stylize your own look-and-feel.
To add Ubuntu Bash to Windows Terminal, click Settings. It will open settings.json file. The file includes many configuration for your Windows Terminal. Under the list, add this code block. What the code does is that Windows Terminal will provide Ubuntu Bash option to select.
{
    "guid": "{07b42e3e-df2c-5db4-bd3d-ba144ed6q273}",
    "hidden": false,
    "name": "Ubuntu-20.04",
    "source": "Windows.Terminal.Wsl",
    "fontFace": "Consolas",
    "fontSize": 12,
    "startingDirectory" : "//wsl$/Ubuntu-20.04/home/seong"

}
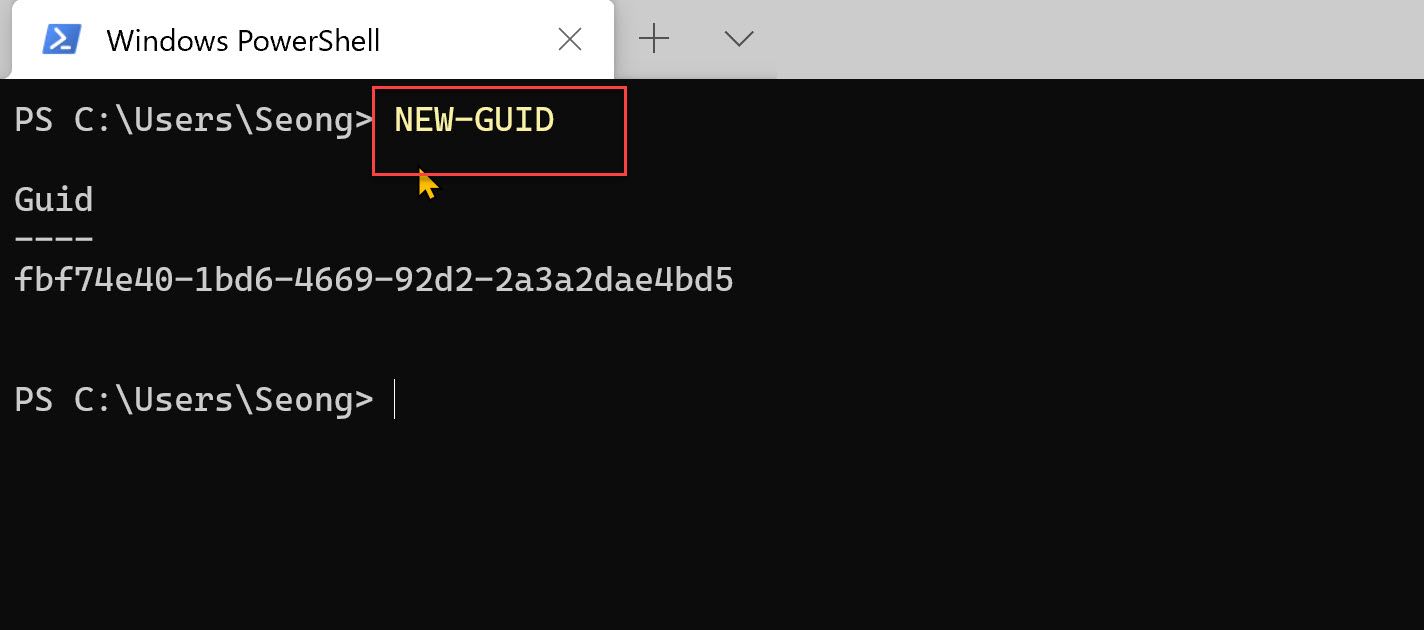
You need to create a unique GUID for Ubuntu Bash. You can easily create it using PowerShell with the command NEW-GUID. When you get a GUID, replace the GUID in the given code block.
You can go further to make Ubuntu Bash as the default terminal, instead of PowerShell. Go again to settings.json file and replace the defaultProfile guid, which appears at the upper part of the file. You are done.
// To view the default settings, hold "alt" while clicking on the "Settings" button.
// For documentation on these settings, see: https://aka.ms/terminal-documentation
{
    "$schema": "https://aka.ms/terminal-profiles-schema",

    "defaultProfile": "{07b42e3e-df2c-5db4-bd3d-ba144ed6q273}",

    // You can add more global application settings here.
    // To learn more about global settings, visit https://aka.ms/terminal-global-settings
Now restart Windows Terminal. You will find that the WSL bash will start as a default program.
If you want to try more crazy customization, you can refer to the official page of Windows Terminal here, https://docs.microsoft.com/en-us/windows/terminal/customize-settings/profile-settings. You can change background color, opacity, cursor shape and color, font, etc.
Good luck! Thanks for watching this video. See you next time.